So, as promised, I will share my step by step instructions for how to back a cross stitch bookmark. This is the first time I have ever done it so the final outcome is not as neat as I had anticipated but by the time I come to do the second one I’m confident it will look a little bit neater!
Anyways…
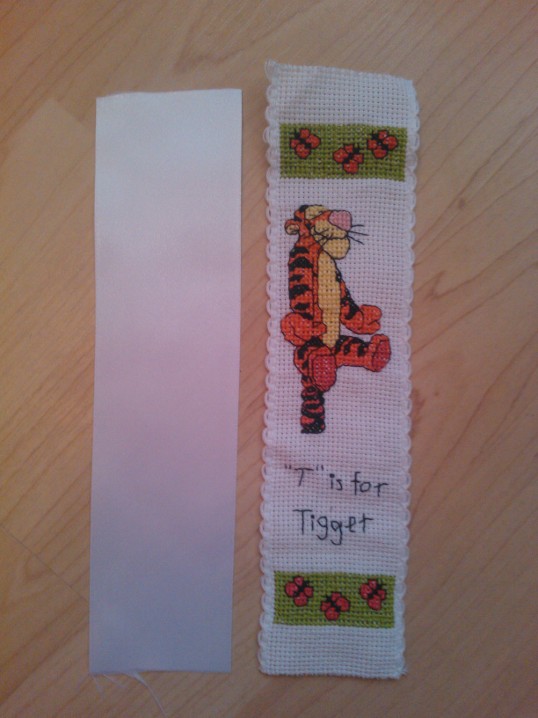
You will need:
- A cross stitch bookmark
- White card
- Ribbon
- Matching thread
- Needle
1. I started by trimming the excess fabric so that there was just 2cm of fabric above and below my design and ironing it from the back. Cut the piece of card so that it is slightly shorter and slightly narrower than your bookmark. I used white card so that it wasn’t visible through the aida but if your fabric is a different colour and it shows through you might want to find a piece of card that is as similar to your fabric as possible.
2. Cut your piece of ribbon at this point so that it is the same size as the bookmark. You then need to iron the fabric so the top and bottom is folded as if you were wrapping a present, first, iron the corners over:

Then fold the excess fabric behind the design:
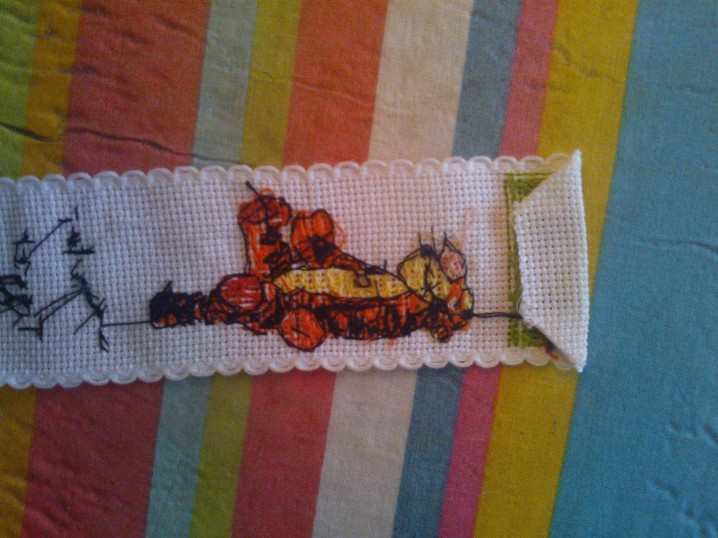
I folded it as close to the top of my design as I could then I repeated this step for the bottom fabric too.
3. You need to repeat the last step but on the ribbon, so that the ends are folded in to prevent fraying. I used white ribbon but you could use any ribbon that matched your design as long as it didn’t show through.You will then have your card, ribbon and design looking like this:
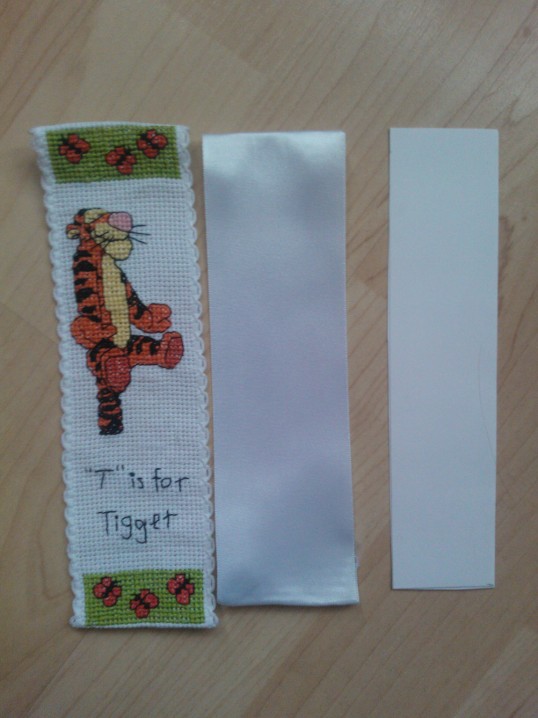
As you can see in the picture, I originally folded my ribbon so that it was slightly shorter than the design but I quickly discovered that that didn’t work and it is much easier if they are the same size.
4. Place the card underneath the folds of the fabric:

5. Then pin the ribbon on top of that. I found it easiest to pin the ribbon at the top and bottom, ensuring that I had pinned it to the excess aida.

6. Using the cotton, sew the ribbon onto the fabric using small neat stitches. When choosing your cotton colour, bear in mind that the stitches will be visible on both the ribbon at the back and the design at the front. I used a basic running stitch along all of the sides.

7. Once you get to the end, finish off your thread and then you’re done!

Back

Front
If you have any questions leave me a comment below and I’ll answer them asap 🙂
P.S. If you enjoy reading my blog please check out my application for the Big Blog Exchange and consider voting for me. Thank you ![]() http://www.bigblogexchange.org/blog/30001
http://www.bigblogexchange.org/blog/30001
Related Articles:
- Some Finished Stitching (hannahackroyd.wordpress.com)
- Getting Things Back on Track… (hannahackroyd.wordpress.com)
- Swamped in WIPs! (hannahackroyd.wordpress.com)
- A Vintage Cross Stitch Update (hannahackroyd,wordpress.com)
- 21st Birthday Presents (hannahackroyd.wordpress.com)
- Crafting Charity Shop Finds (hannahackroyd.wordpress.com)
- A Stitching Update (hannahackroyd.wordpress.com)
- A Week of Non-Stitching (hannahackroyd.wordpress.com)

That is so cute! Do you sell any of these? Or where can I find a Tigger kit? Would love one for my niece.
Sadly it’s not my design. This kit is pretty old and was designed by a company called Designer Stitches. This kit contained this bookmark and a Winnie the Pooh one designed by Debbie Minton. The kit is number E17/23 I have discovered that they tend to pop up occasionally on the UK ebay site but I’m not sure about the US one. Although it doesn’t look like they have this specific one at the moment there seems to be several options if you search for a Tigger cross stitch kit on there. Sorry I couldn’t be more specific! I hope you manage to find one!
Very nice tutorial. I will pass it along to hubby so that he can finish his bookmarks. Yours turned out so cute.
I hope he finds it useful! Let me know if anything isn’t explained properly! Thank you 🙂
CAYYYYYYYUTE!
Hehe thank you 😀
It’s a great tutorial. I’ll definitely try making a bookmark this way.
Thanks, let me know how it goes 😀
Hi Hannah,
Thank you for sharing this. I like your idea of using a ribbon to back your cross stitch design. I’m planning of making a cross stitched bookmark too and this is really helpful. 😀
I don’t know what to do with the edges though. Will you also share with us how you added those curvy designs along the edges of your bookmark? Pretty please.. 🙂
With a smile,
Jennael
Hi Jennael, I’m glad you found the post useful! I didn’t actually create the curvy edge of the bookmark, I just did the cross stitch straight onto an aida band – you can buy them to create cross stitch cake bands and cross stitched ribbons. Thanks for reading! Hannah
Thank you, these instructions are just what I needed. You have explained every step so clearly, I have searched for clear instructions about bookmarks, but thanks to you, my search is over!
Do you have any suggestions on a way to protect the needlepoint from aging over time? Do you think the stitching is at risk of getting discolored from finger prints?